스프링 게시판 - ckeditor4 (ck에디터)연동 - 이미지업로드 (2)
2023.03.18 - [Spring] - 스프링 게시판 - ckeditor4 (ck에디터)연동 - 기본적용 (1)
이번 포스트는 화면단 파일업로드 옵션 정의, 서버단 파일업로드 기능 구현을 하겠다.
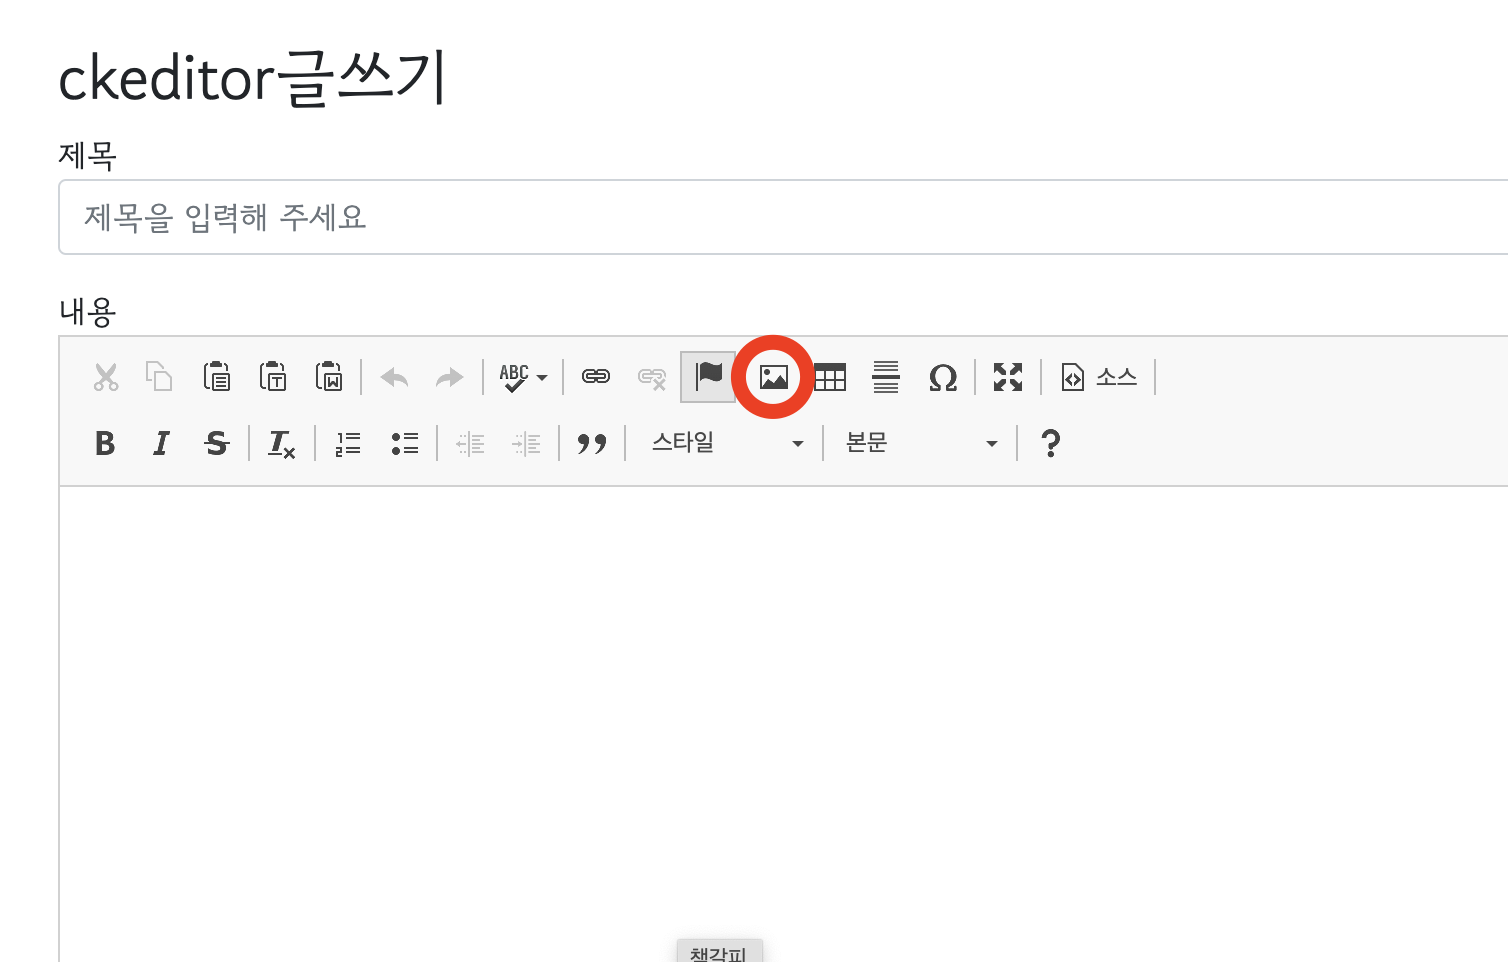
저 이미지 모양을 클릭하면 이미지 업로드 기능을 사용 할 수 있다.

1. 화면단 스크립트 설정
CKEDITOR.replace( 'ckeditor', {//해당 이름으로 된 textarea에 에디터를 적용
    width:'100%',
    height:'400px',
    filebrowserUploadUrl:  "/bbs/ckeditor/ckEditorUpload",
    image_previewText: ' '
});
옵션중 width, height는 이미지 업로드의 팝업창 크기 설정,
filebrowserUploadUrl : 이미지파일 업로드를 하는 컨트롤러 호출 주소 정의
image_previewText : 미리보기의 기본 문구 정의하기. 사용을 하지 않기 때문에 공백으로 처리함
//이미지 업로드가 끝나고 실행하는 함수
CKEDITOR.on( 'dialogDefinition', function( ev ) {
    // Take the dialog name and its definition from the event data.
    let dialogName = ev.data.name;
    let dialogDefinition = ev.data.definition;
    let uploadTab = dialogDefinition.getContents( 'Upload' );
    let uploadButton = uploadTab.get('uploadButton');

    uploadButton['filebrowser']['onSelect'] = function( fileUrl, errorMessage ) {

    }
});
위의 dialogDefinition 함수는 파일업로드가 완료 된 후 after행위를 할 수 있는 함수이다. 일단 정의만하고 나중에 다시 설명하겠다.
이 함수가 필요한 이유는 파일업로드 삭제와 관련있다.
스크립트 전체 부분
$(document).ready(function() {

     CKEDITOR.replace( 'ckeditor', {//해당 이름으로 된 textarea에 에디터를 적용
        width:'100%',
        height:'400px',
        filebrowserUploadUrl:  "/bbs/ckeditor/ckEditorUpload",
        image_previewText: ' '

     });


    //이미지 업로드가 끝나고 실행하는 함수
    CKEDITOR.on( 'dialogDefinition', function( ev ) {
        // Take the dialog name and its definition from the event data.
        let dialogName = ev.data.name;
        let dialogDefinition = ev.data.definition;


        let uploadTab = dialogDefinition.getContents( 'Upload' );
        let uploadButton = uploadTab.get('uploadButton');

        uploadButton['filebrowser']['onSelect'] = function( fileUrl, errorMessage ) {

        }

    });
});
2. 파일업로드 컨트롤러 작성
먼저 pom.xml에 라이브러리를 추가해준다.
파일업로드 관련 라이브러리 및 josn형태로 리턴시 필요한 라이브러리이다.
<!-- json util for Google-->
<dependency>
    <groupId>com.google.code.gson</groupId>
    <artifactId>gson</artifactId>
    <version>2.8.5</version>
</dependency>

<!-- fileUpload -->
<dependency>
    <groupId>commons-fileupload</groupId>
    <artifactId>commons-fileupload</artifactId>
    <version>1.3.3</version>
</dependency>

<dependency>
    <groupId>org.apache.commons</groupId>
    <artifactId>commons-lang3</artifactId>
    <version>3.0</version>
</dependency>
@ResponseBody
@PostMapping("/ckeditor/ckEditorUpload")
public void communityImageUpload(HttpServletRequest req, HttpServletResponse resp, MultipartHttpServletRequest multiFile) throws Exception{
PrintWriter printWriter = null;
OutputStream out = null;
MultipartFile file = multiFile.getFile("upload");
if(file != null) {
if(file.getSize() >0 && StringUtils.isNotBlank(file.getName())) {
if(file.getContentType().toLowerCase().startsWith("image/")) {
try{
String fileName = file.getOriginalFilename();
byte[] bytes = file.getBytes();
String uploadPath = "C:/자신의프로젝트경로/src/main/webapp/resources/ckeditorUpload";
File uploadFile = new File(uploadPath);
if(!uploadFile.exists()) {
uploadFile.mkdir();
}
String fileName2 = UUID.randomUUID().toString();
uploadPath = uploadPath + "/" + fileName2 +fileName;
out = new FileOutputStream(new File(uploadPath));
out.write(bytes);
printWriter = resp.getWriter();
String fileUrl = req.getContextPath() + "/resources/ckeditorUpload/" +fileName2 +fileName; //url경로
JsonObject json = new JsonObject();
json.addProperty("uploaded", 1);
json.addProperty("fileName", fileName);
json.addProperty("url", fileUrl);
printWriter.print(json);
}catch(IOException e){
e.printStackTrace();
} finally {
if (out != null) {
out.close();
}
if (printWriter != null) {
printWriter.close();
}
}
}
}
}
}일반적인 파일업로드 로직으로 이미지 파일을 업로드하는 방식이다.
다만 프로젝트 업로드 경로는 프로잭트 내부 폴더인 resouece폴더 하위 를 참조하고 있다.
소스 중간 json객체에 담기는 url 값이 이미지를 불러오는 경로이다.
3. 이미지 업로드 테스트

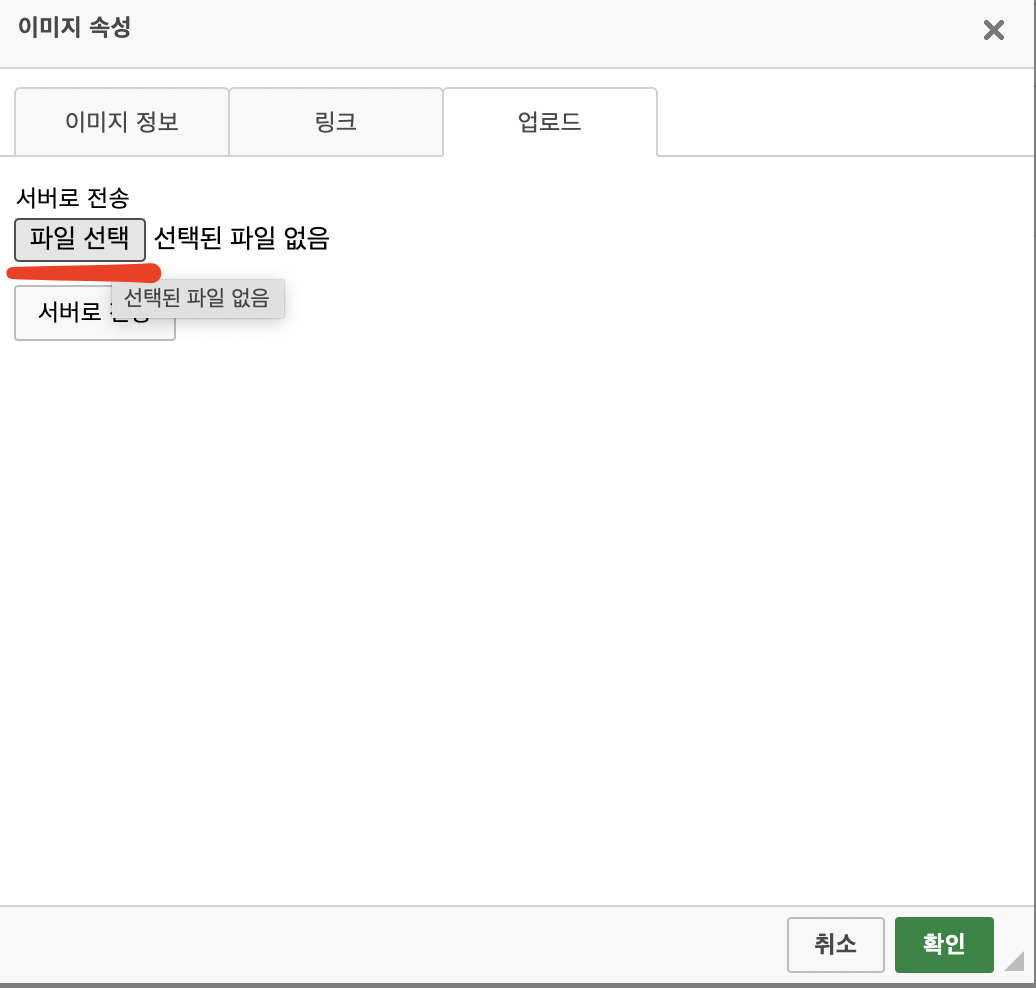

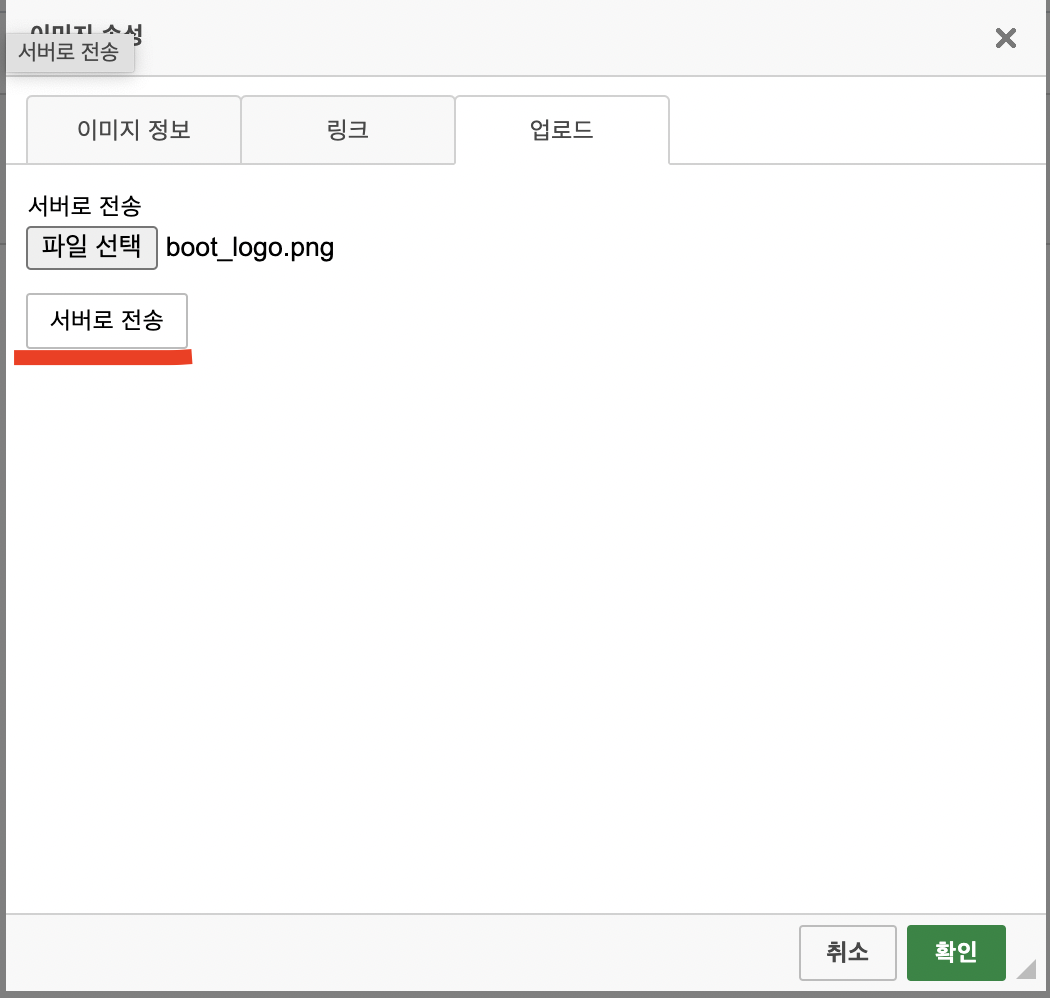
[서버로 전송] 버튼을 누르면 정의한 파일업로드 컨트롤러 주소로 멀티파트 객체를 보내 파일업로드를 수행한다.
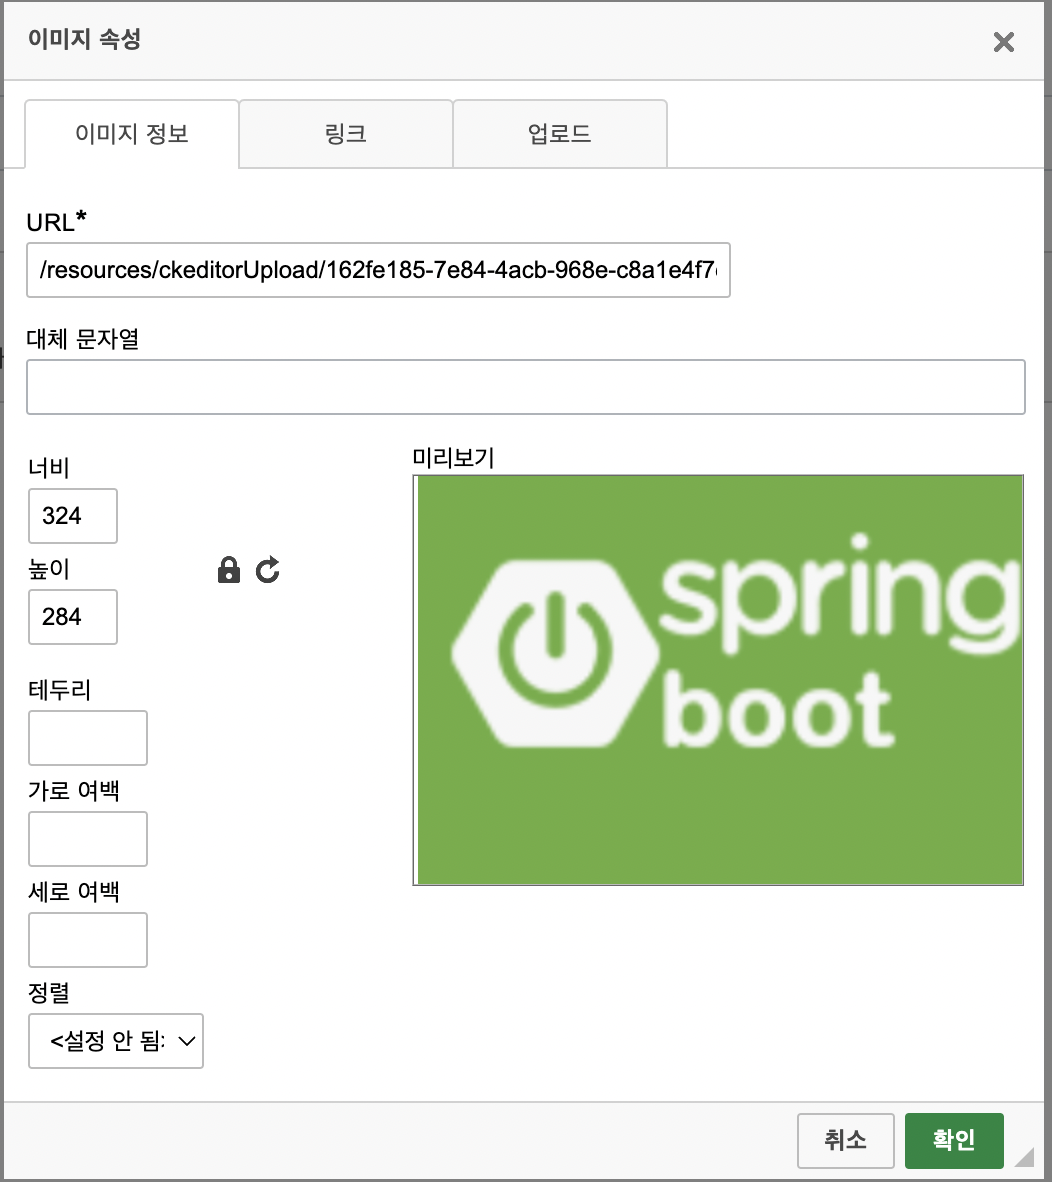
업로드가 완료되면 json 객체에 담긴 url값이 출력된다.
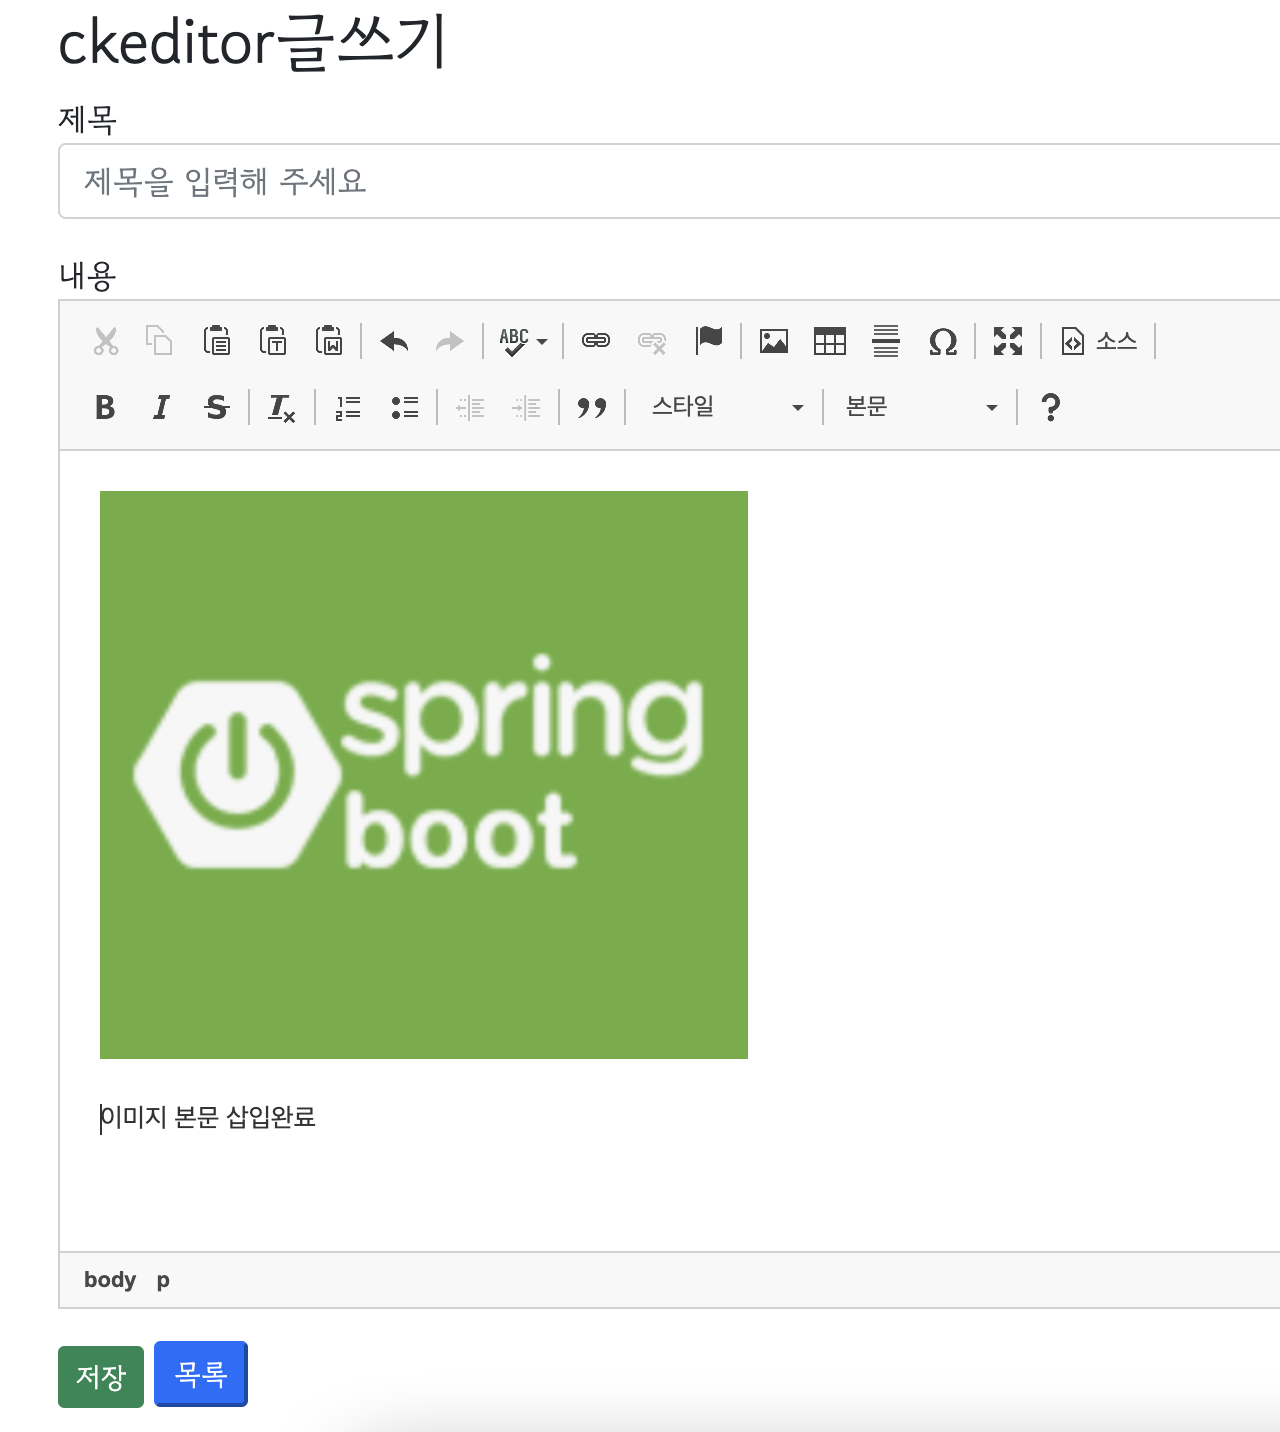
[확인]버튼을 누르면 본문에 이미지가 삽입된다.

소스탭으로 보면 이미지 태그안에 이미지 경로가 있을 뿐이다.

이미지를 여러개 업로드해도 결국 이미지태그를 여러개 삽입하는것과 같다.
다음 포스트는 가비지 이미지파일 제거를 구현하겠다.